How to Test for Hard Water in Your Home

Understanding whether your home has hard water is essential for taking the necessary steps to mitigate its effects. This article will provide step-by-step instructions on how to test for water hardness using DIY kits and professional services. We'll also offer tips on interpreting the results and what actions to take next.
Step-by-Step Instructions for Testing Water Hardness
1. Using DIY Water Hardness Test Kits
DIY water hardness test kits are widely available and easy to use. Here's how you can test your water at home:
1. Purchase a Test Kit:
- Buy a water hardness test kit from a home improvement store, online retailer, or your local hardware shop.
2. Prepare the Test:
- Read the instructions provided with the kit carefully. Most kits come with test strips or liquid reagents.
3. Collect a Water Sample:
- Fill a clean container with water from the tap you wish to test. It’s best to use water that has been running for a few minutes to ensure it’s fresh.
4. Perform the Test:
- If using a test strip, dip it into the water sample and hold it there for the recommended time, usually a few seconds.
- If using liquid reagents, add the specified number of drops to the water sample and mix gently.
5. Compare Results:
- Compare the colour change on the test strip or in the water sample to the colour chart provided with the kit. This will indicate the hardness level of your water.
2. Using Professional Water Testing Services
For a more comprehensive analysis, you can opt for professional water testing services. Here’s how to proceed:
1. Find a Reputable Service:
- Look for certified water testing laboratories or services in your area. You can find recommendations online or through local government resources.
2. Collect a Water Sample:
- Follow the instructions provided by the testing service to collect a water sample. This often involves using a sterile container and following specific guidelines to avoid contamination.
3. Submit the Sample:
- Send the water sample to the laboratory as directed. Some services may offer to collect the sample from your home.
4. Receive the Results:
- The laboratory will analyse the water and provide a detailed report on its hardness and other characteristics.
Interpreting the Results
Once you have your test results, it's important to understand what they mean. Water hardness is typically measured in parts per million (ppm) or milligrams per litre (mg/L) of calcium carbonate. Here’s a general guide to interpreting your results:- 0-60 mg/L (0-3.5 grains per gallon): Soft water
- 61-120 mg/L (3.5-7 grains per gallon): Moderately hard water
- 121-180 mg/L (7-10.5 grains per gallon): Hard water
- 181+ mg/L (10.5+ grains per gallon): Very hard water
What to do next
If your test results indicate that you have hard water, consider the following steps to mitigate its effects:1. Install a Water Softener:
- A water softener can help reduce the hardness of your water by removing calcium and magnesium ions. There are various types of water softeners available, including salt-based and salt-free systems.
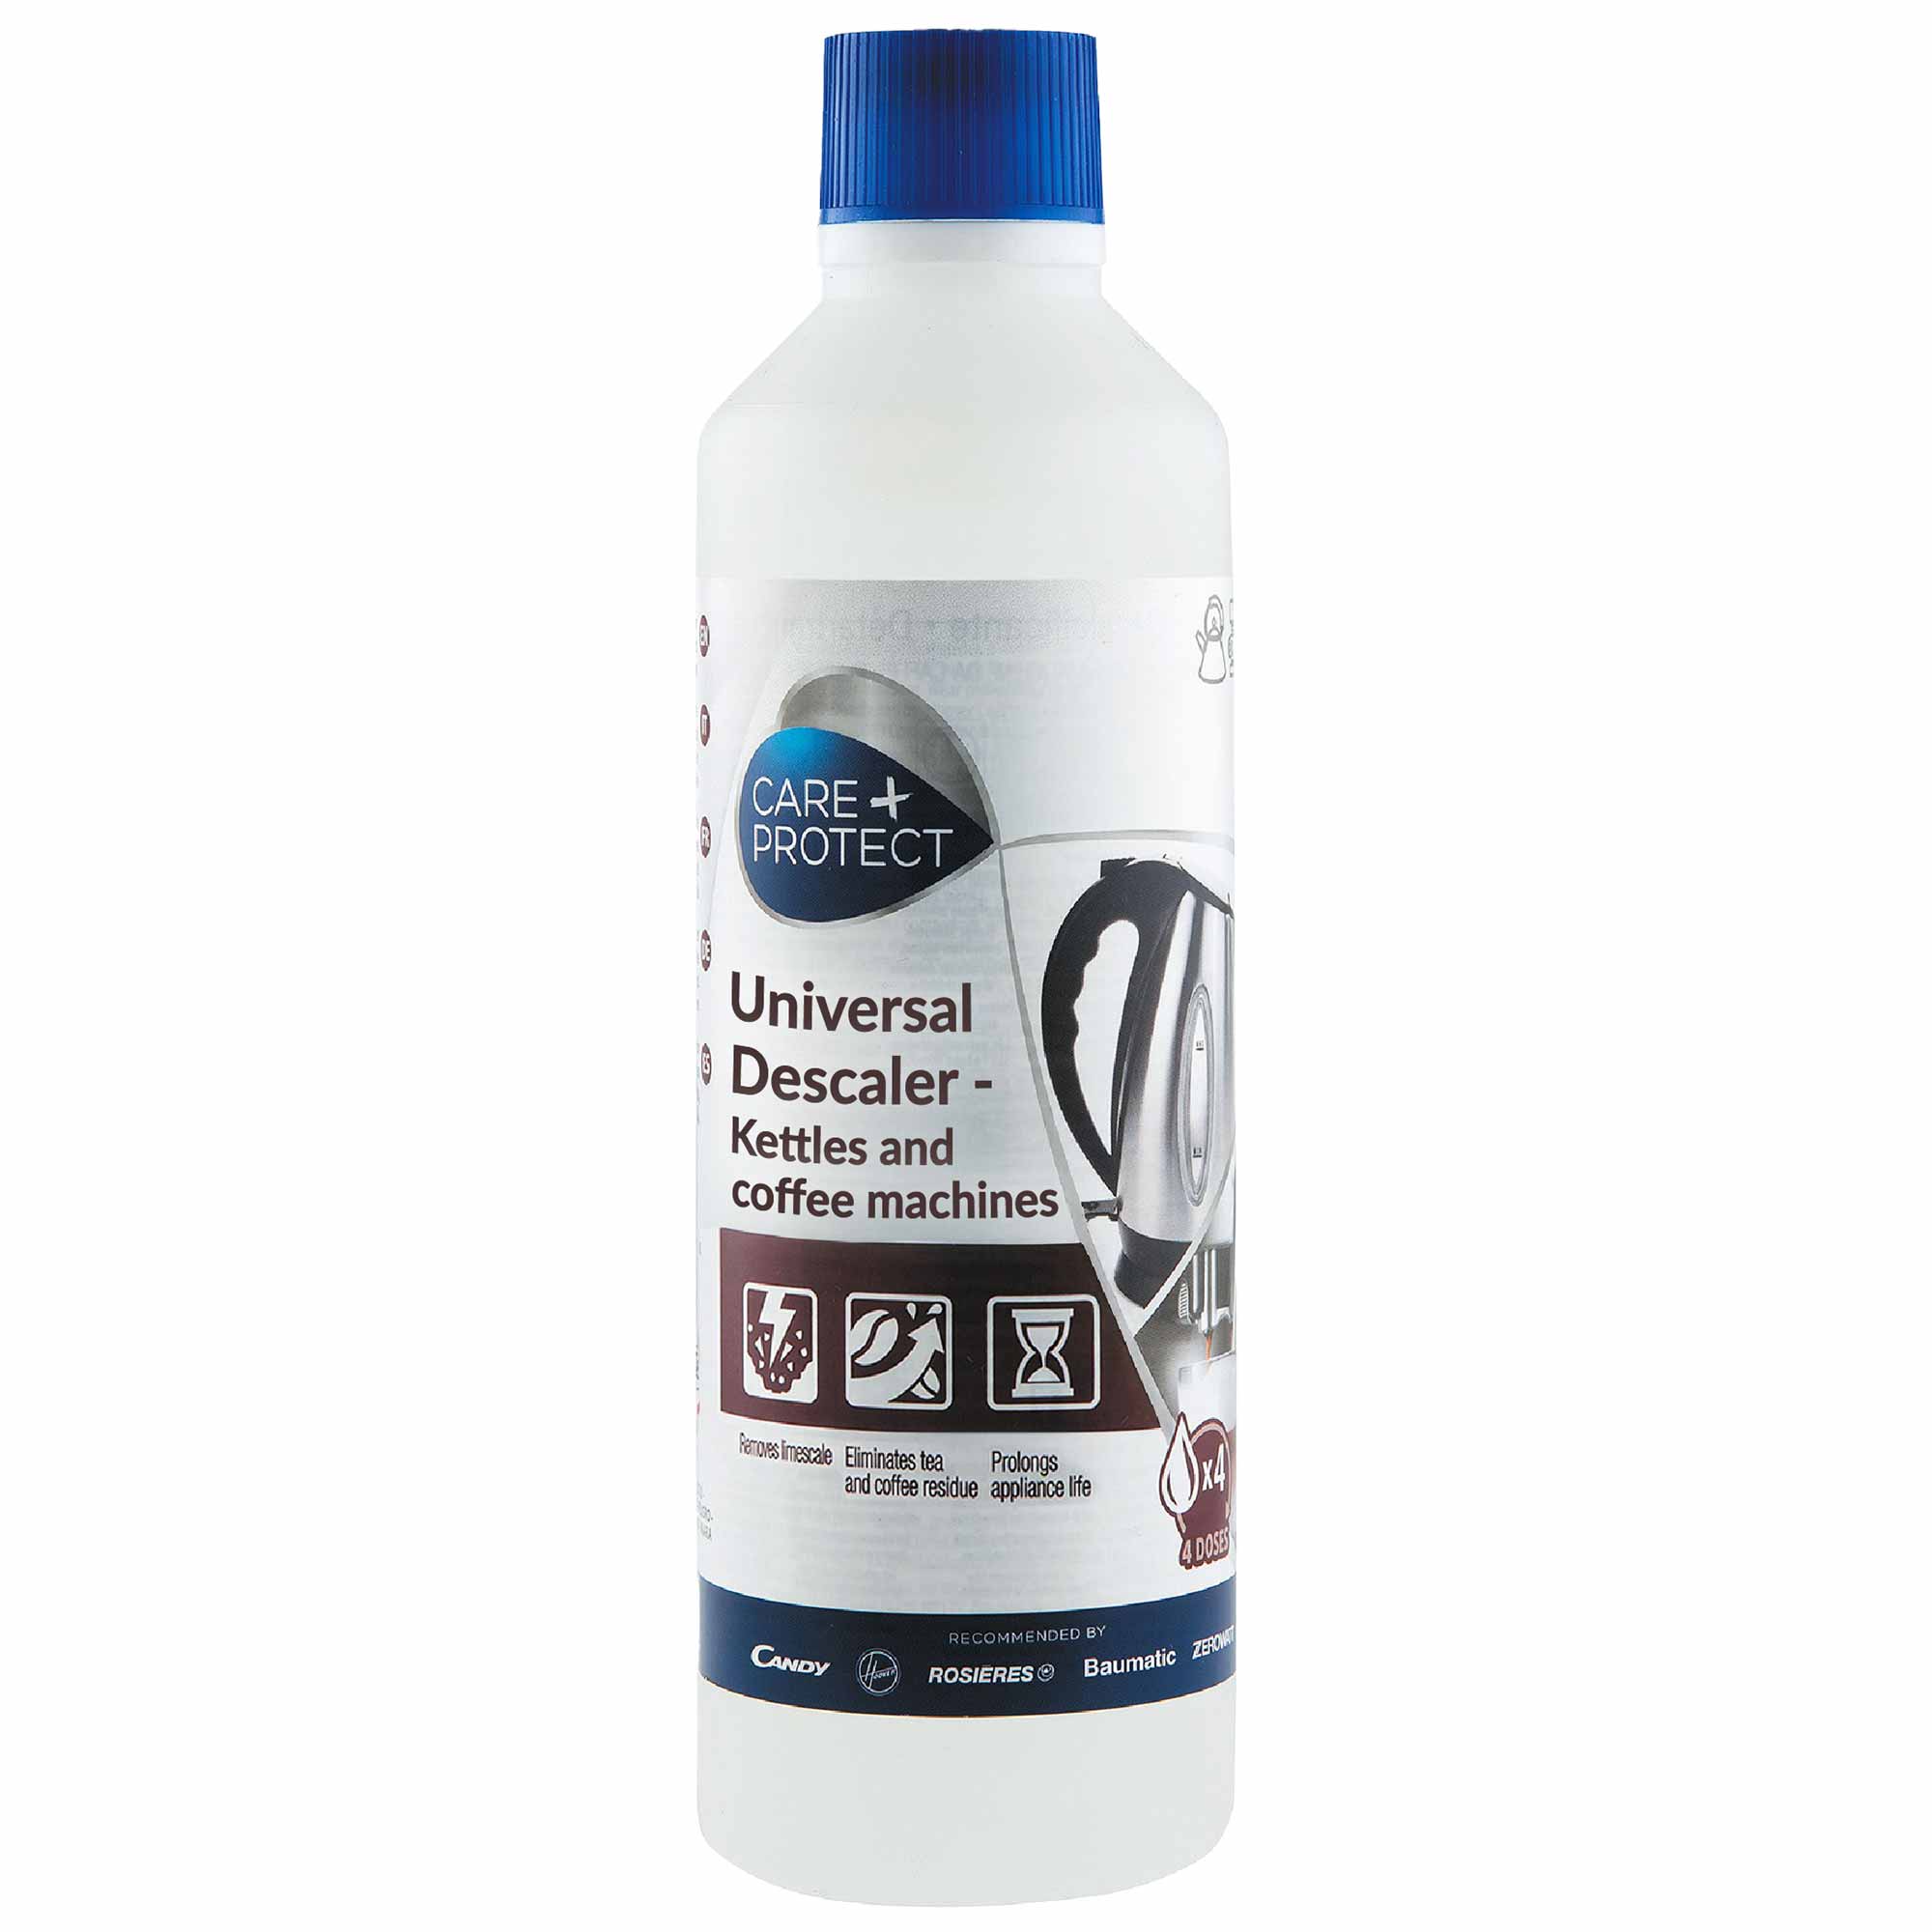
2. Use Descaling Products:
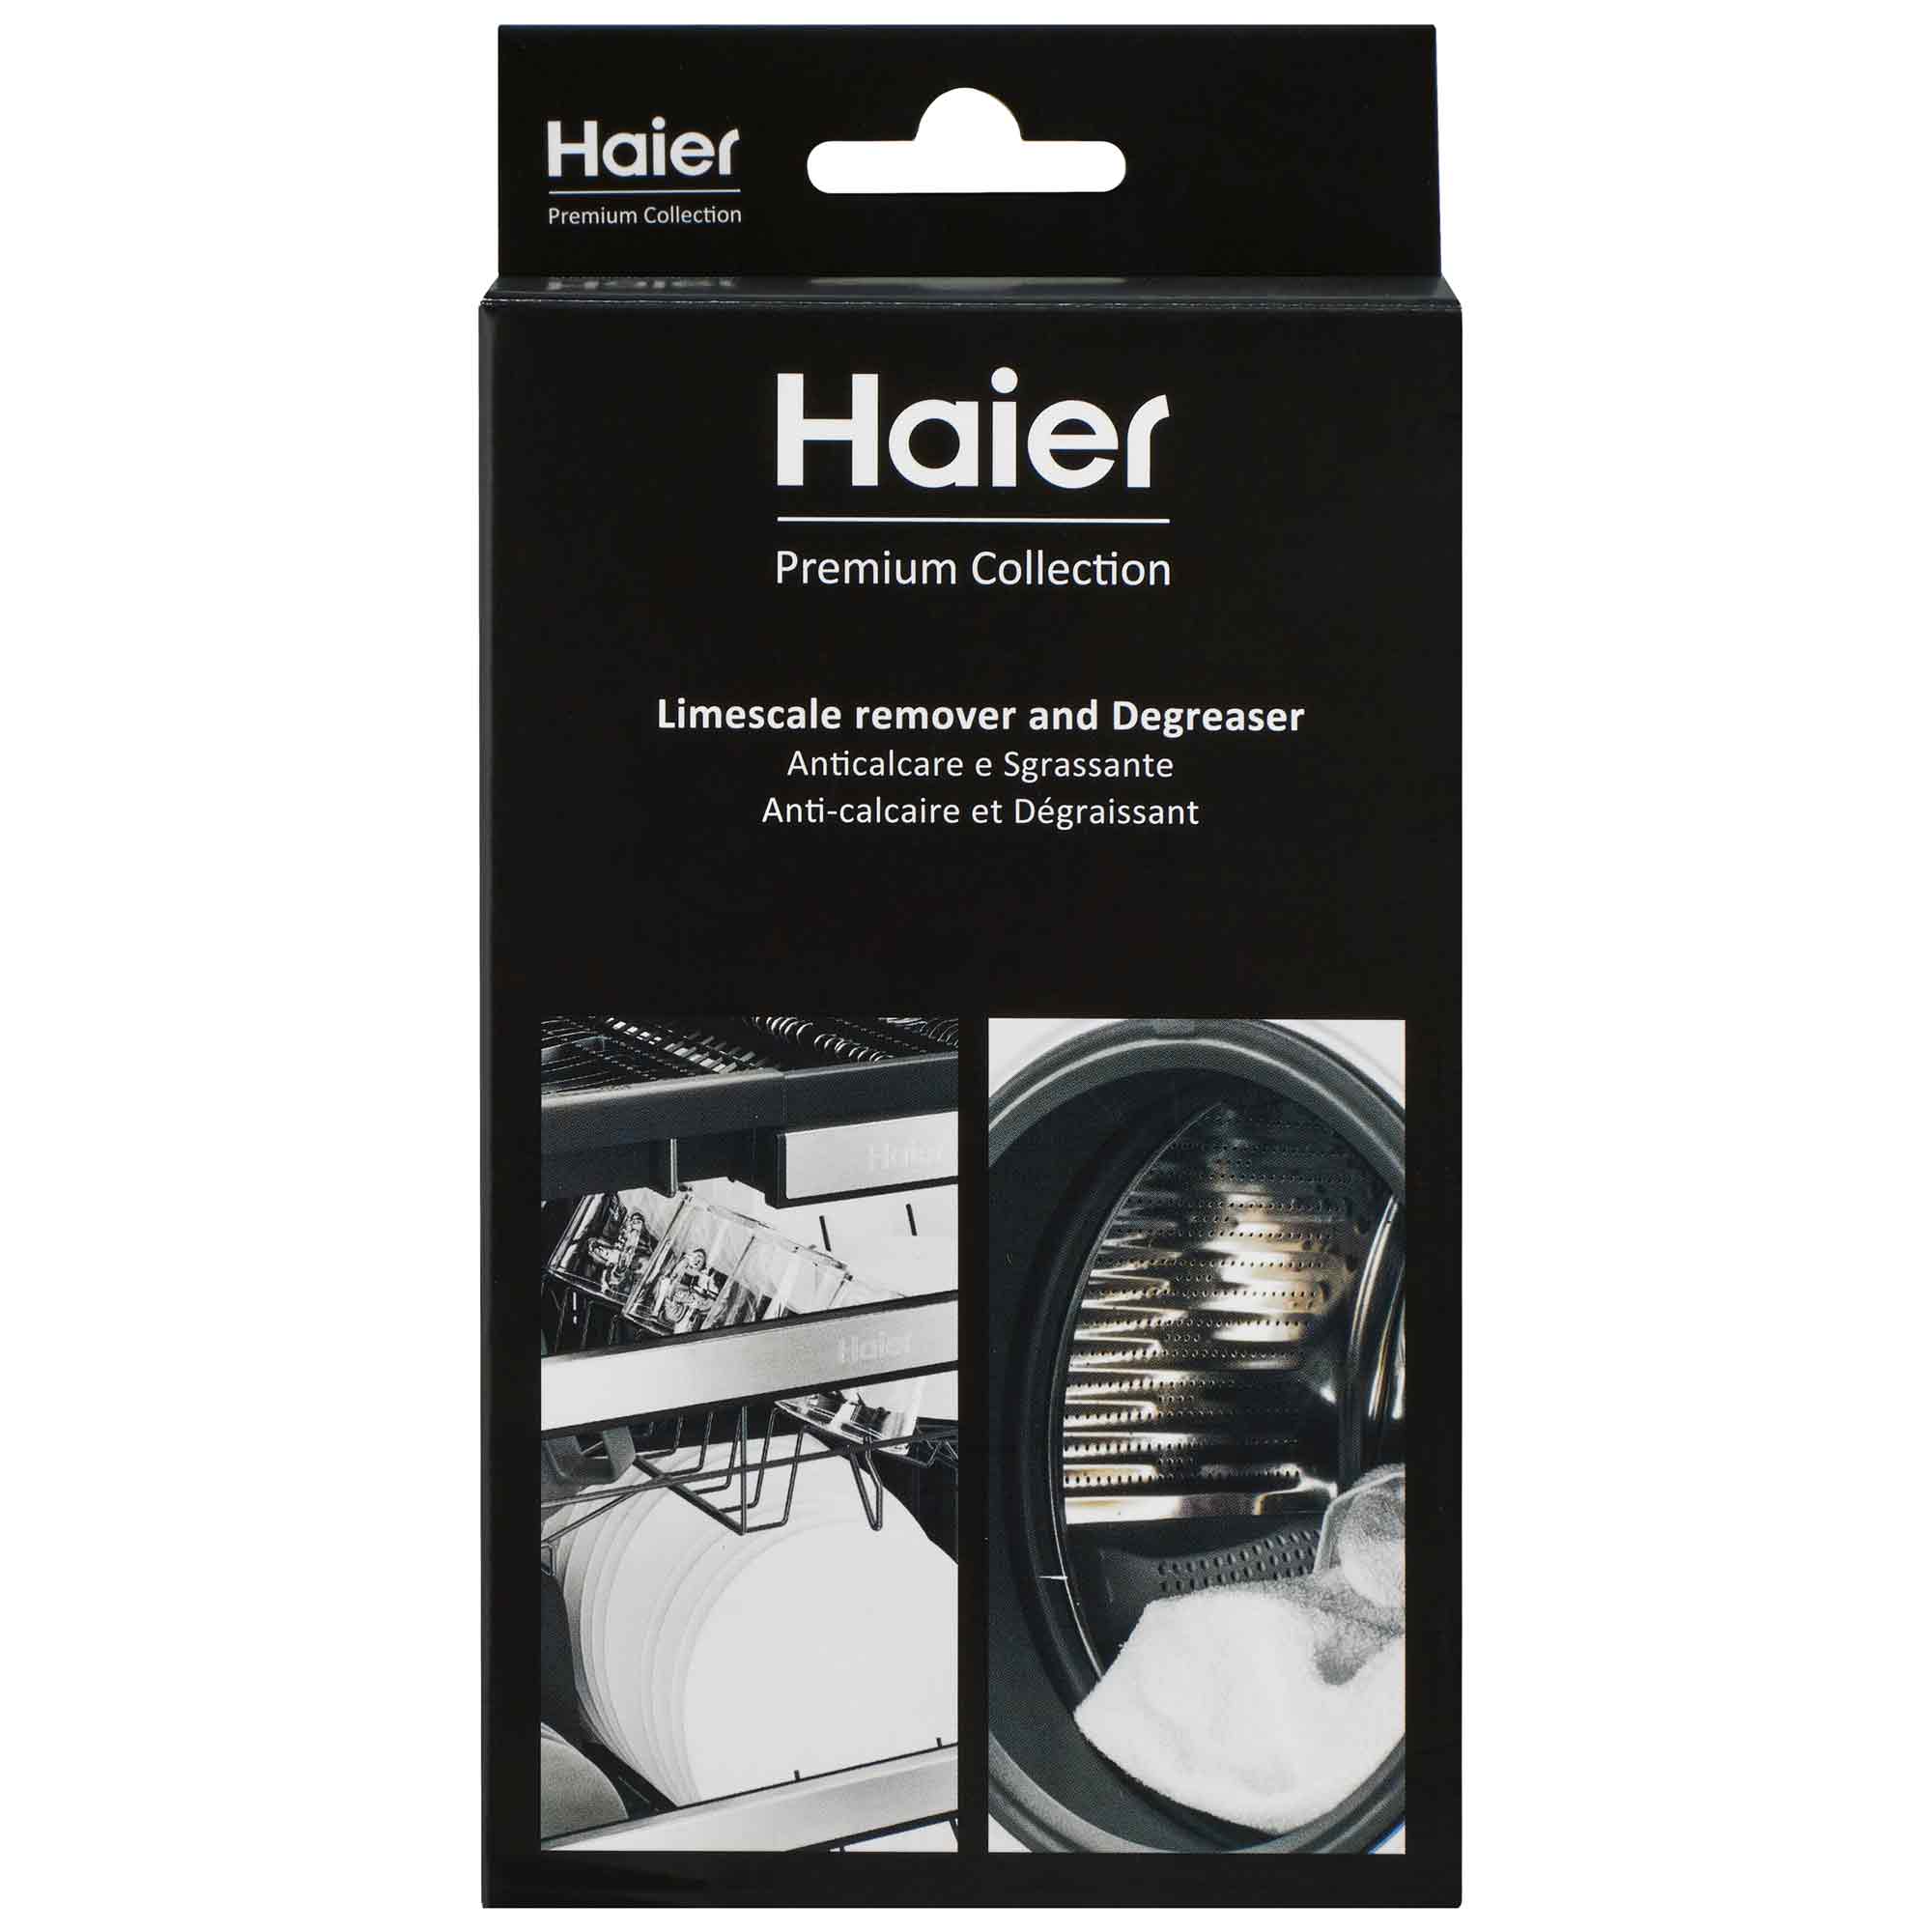
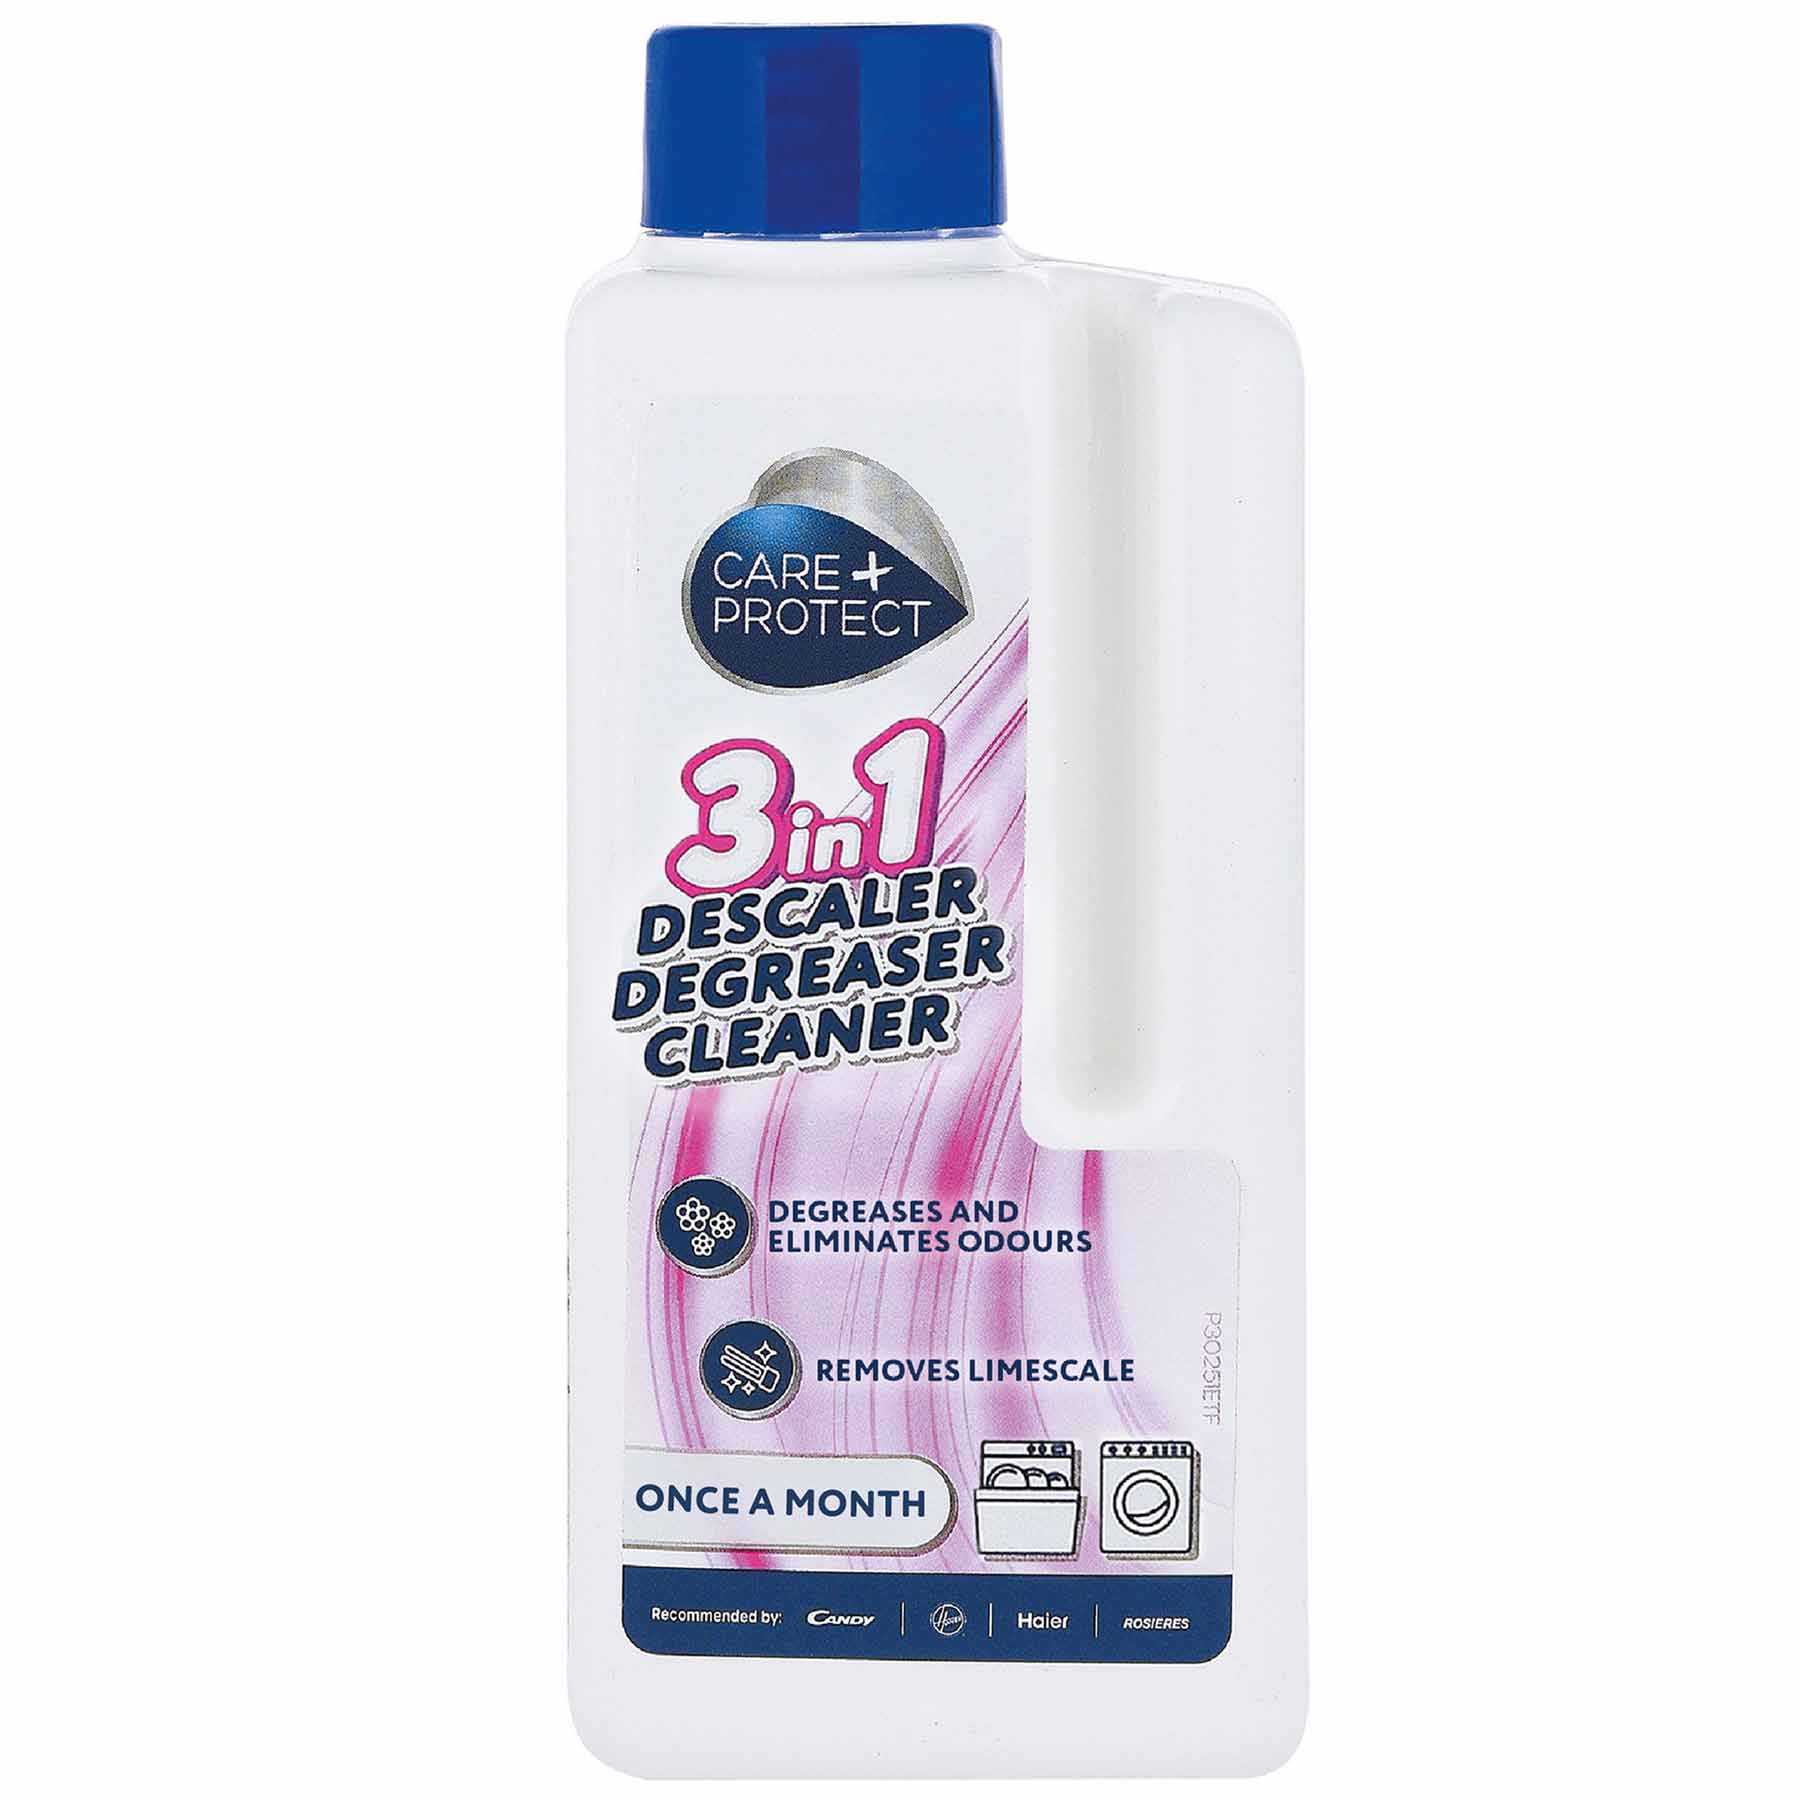
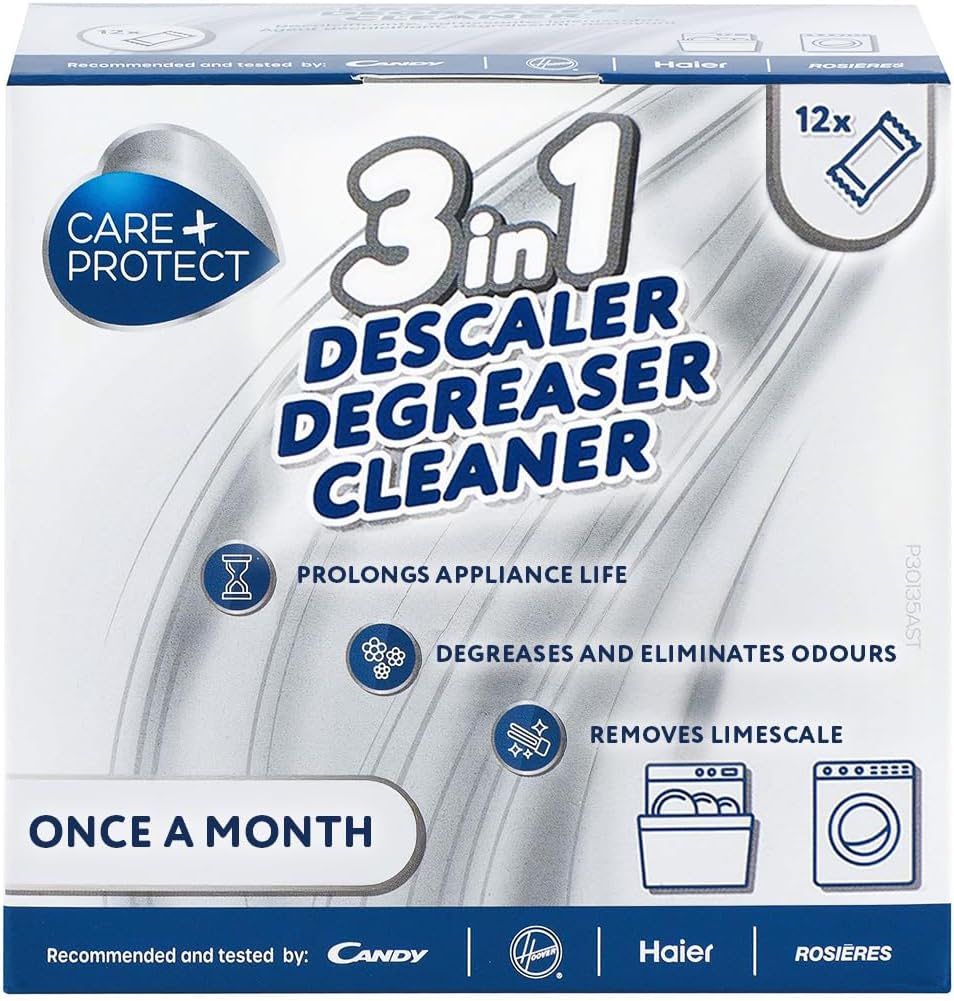
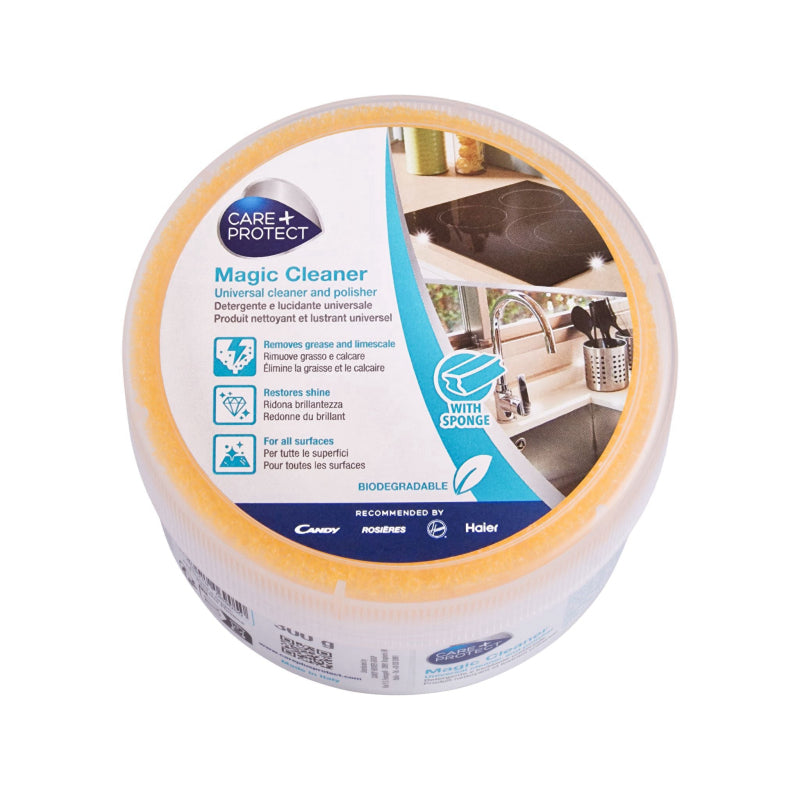
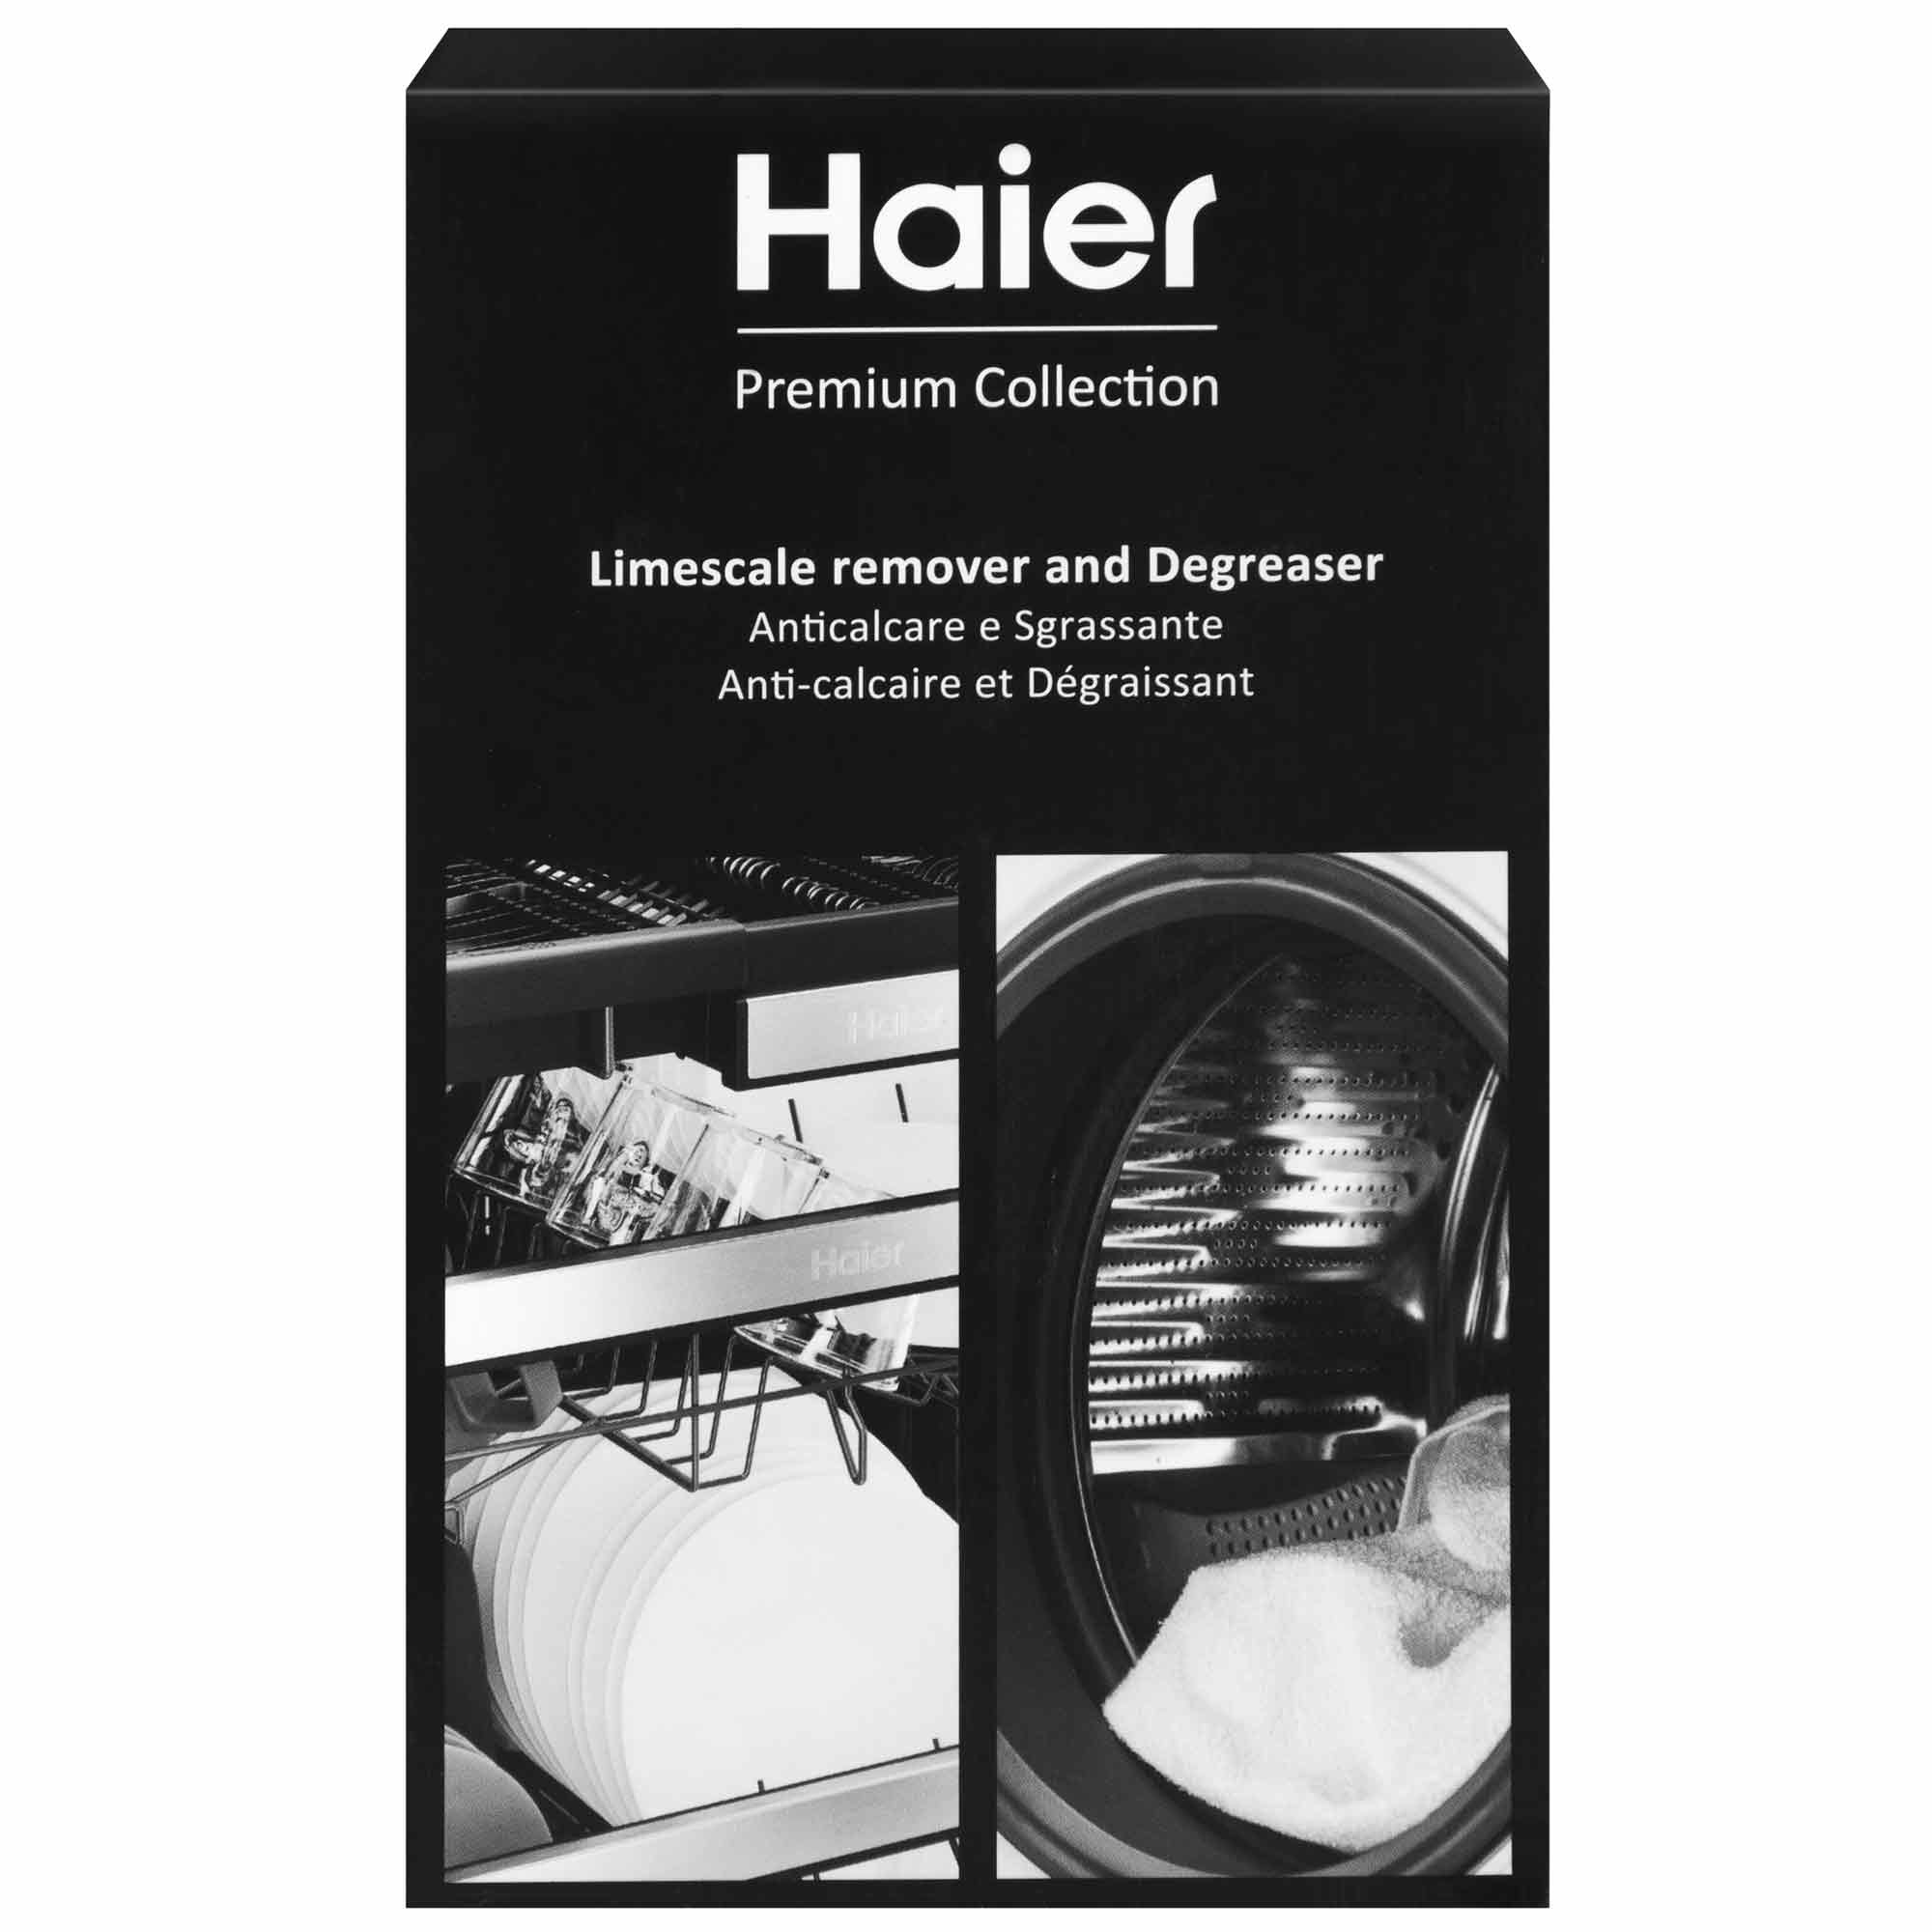
- Regular use of descaling products can prevent limescale buildup in appliances and plumbing. Products such as the Haier Washing Machine and Dishwasher Limescale Remover & Degreaser are effective in maintaining appliance efficiency.
3. Consider Professional Treatment:
- For severe cases, consider professional water treatment solutions. A water treatment specialist can provide tailored solutions based on the specific hardness of your water.
4. Regular Maintenance:
- Regularly clean and maintain appliances affected by hard water, such as kettles, washing machines, and dishwashers. Using products like the 3-in-1 Washing Machine & Dishwasher Universal Degreaser, Descaler & Sanitiser can help keep these appliances in good working order.






Leave a comment